Difference between revisions of "VTube-LASER Advantages"
(→VTUBE-LASER USES THE MORE ACCURATE LEAPFROG FOR LONG TUBES) |
(→USES THE MORE ACCURATE LEAPFROG FOR MEASURING TUBES LONGER THAN THE ARM REACH) |
||
| Line 394: | Line 394: | ||
</td> | </td> | ||
<td> | <td> | ||
| − | Some | + | Some systems rely on less accurate and less flexible MOVE commands for longer tubes. |
</td> | </td> | ||
</tr> | </tr> | ||
Revision as of 18:26, 3 May 2017
VTube-LASER AdvantagesBack to VTube-LASER |
Icon Legend
|
This icon means we invented and/or were the first to introduce this technology for the tube fabrication industry. |
|
|
This icon means that the technology is unique to VTube-LASER when compared to other tube fabrication measuring systems. |
Advantages List
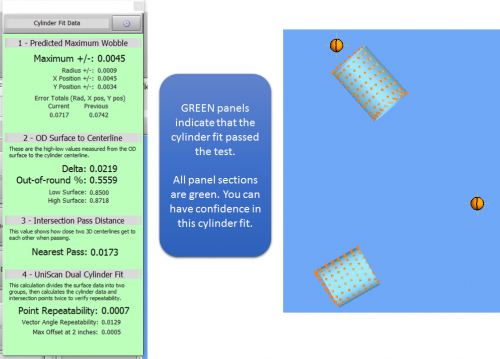
The DCF (DUAL CYLINDER FIT) Engine Measures TWICE When Users Measure Once
The goal is to ensure repeatability of the cylinder measurements on-the-fly using a LASER scanner. |
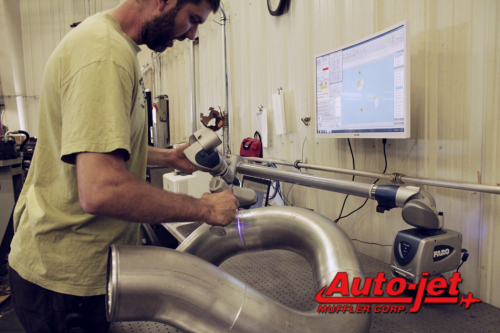
CLAMPS ARE NOT NECESSSARY - MEASURE TUBES ON ANY TABLE OR FLOOR WITH CUT PLANES
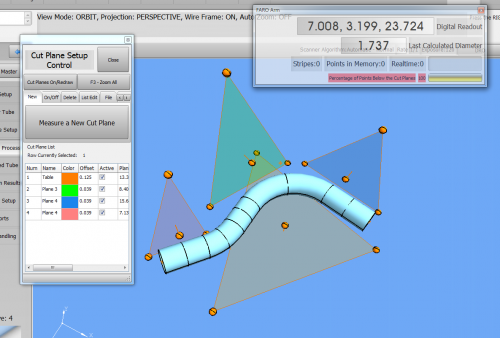
Work holders with clamps are not needed with VTube-LASER. Measure the table surface as a Cut Plane, then lay the tube on the table during scanning. VTube-LASER will automatically ignore the table. |
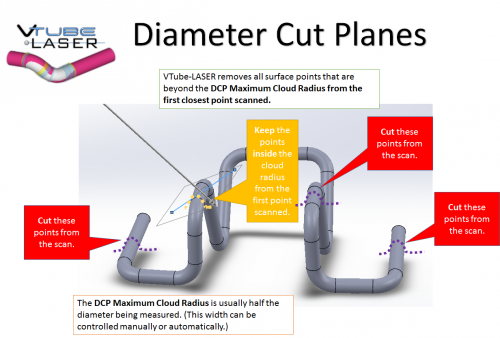
THE DCP (DIAMETER CUT PLANE) FEATURE REMOVES BACKGROUND DATA AUTOMATICALLY
|
We invented DCP in 2016. |
|
|
No other tube measuring system uses this feature. |
AUTOMATICALLY BUILD 3DSKETCH PARTS IN SOLIDWORKS
|
We are unaware of any other tube measuring system that can duplicate this feature. |
|
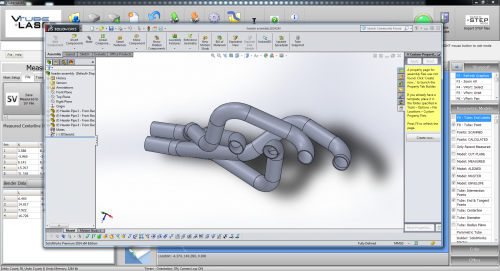
VTube-LASER can draw a measured part in SOLIDWORKS in just a few seconds. In this image, we measured four tubes in VTube-LASER, automatically drew each part in SOLIDWORKS, then combined the four parts into an assembly using the SOLIDWORK's assembly feature.
|
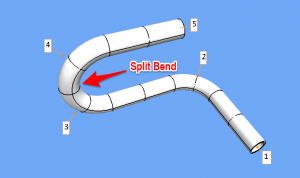
SPLIT BEND MEASUREMENTS HANDLE 180-DEGREE BENDS ACCURATELY
|
We invented the SPLIT BEND feature in 2011. |
|
|
Fork-probe measuring systems must treat 180-degree bends as if they have a straight (which they don't). This can create a high wobble deviation in the centerline creation. |
|
For details, see the VTube-LASER Split Bend Feature page. |
TROUBLE-FREE IMPORT OF TUBE MODELS FROM ENTIRE ASSEMBLIES WITH COMPONENTS
|
Other systems may struggle with importing tubes with extra objects in the file. |
|
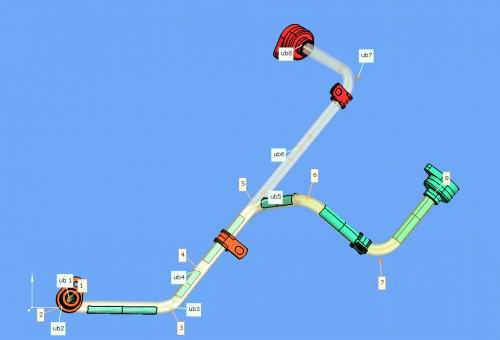
VTube-LASER can import entire assemblies in STEP and IGES formats. This software lets you find the centerline of any solid model tube inside any assembly. VTube can even find the centerlines of straights that are drilled with holes or end copings. |
BUILT-IN EXTENSIVE BENDER NETWORKING
|
Some competitors require that you purchase bender communications functionality. |
|
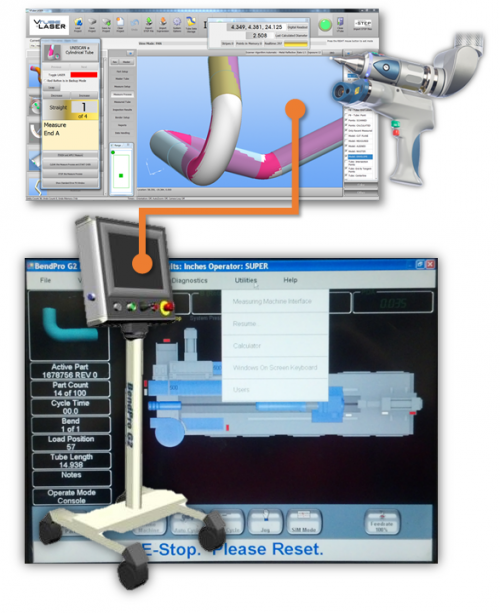
VTube-LASER includes communication with up to 100 benders with no additional license charge for many bender types.
|
ONE PROBE FOR ALL DIAMETERS - EVEN STRING CENTERLINES
|
Competing fork-probe measuring systems cannot duplicate this feature. They must change fork probes for wide ranges of diameters. Also, to the best of our knowledge, no other systems can measure CENTERILNE STRINGS like VTube-LASER can. |
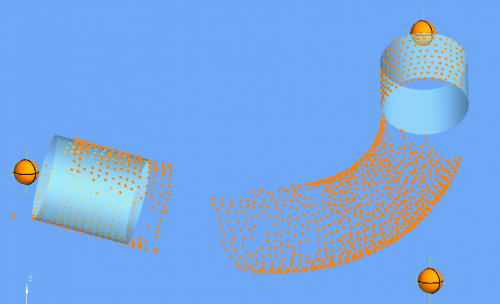
SCANS SURFACES TO COLLECT DENSE POINT-CLOUD DATA
|
Vision-based systems examine the OD silhouette only. Fork-probe systems use a sliver of data from either tangent on each straight. |
|
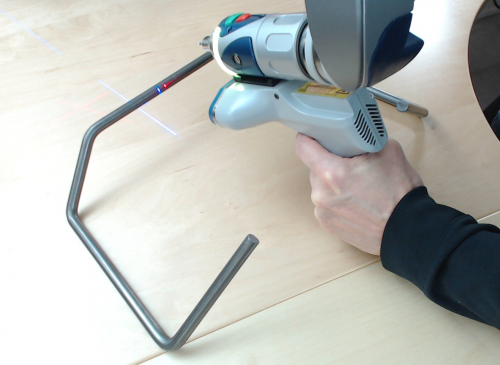
VTube-LASER takes in an actual point cloud of the diameter surface then solves for a centerline cylinder. |
BETTER REAL TIME VISUAL FEEDBACK WITH SURFACE POINTS AND TRUE ORIENTATIONS
|
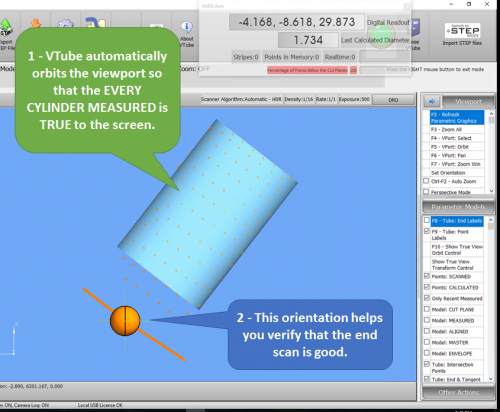
Heavy surface point display has been part of VTube from the beginning. The TRUE VIEW feature was added in version 2.8 in April, 2017. |
|
|
Other systems hide much of the real time feed back or show none at all. |
|
VTube-LASER shows you the actual model of the scanned points on the screen immediately after the scan in its TRUE VIEW orientation. This allows the operator to visually verify that the scan was good before moving to the next straight or end. If there are outliers or flyers - you can easily see them in this screen. (See the top image.) |
|
|
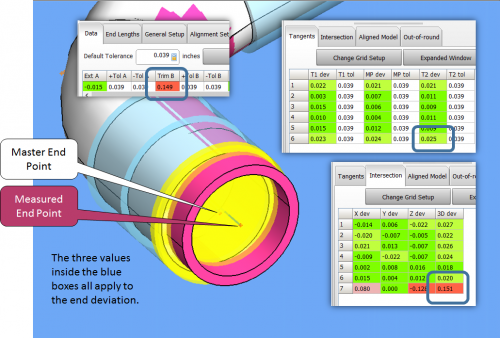
After the inspection is complete, VTube creates solid model images that are designed to clearly show you where the tube passes or fails the tolerance envelope. In the bottom image, it is easy to see that the measured-aligned tube (the pink tube) is too long because it moves far past the end length tolerance envelope - which has turned bright yellow because the measured tube is outside the envelope. |
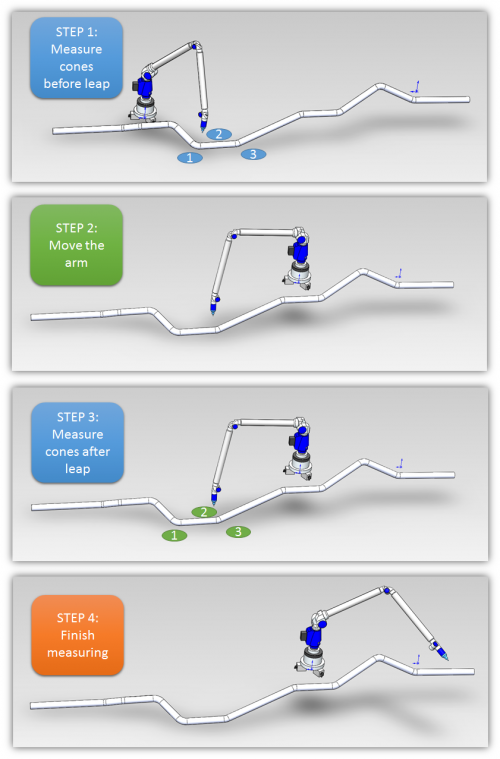
USES THE MORE ACCURATE LEAPFROG FOR MEASURING TUBES LONGER THAN THE ARM REACH
|
Some systems rely on less accurate and less flexible MOVE commands for longer tubes. |
|
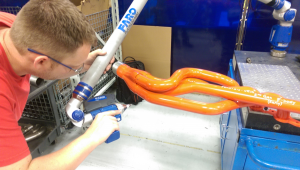
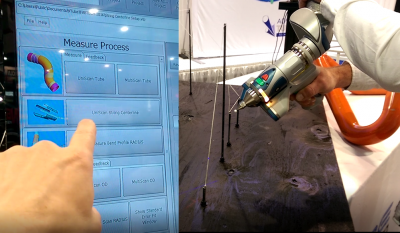
The LEAPFROG feature allows VTube-LASER to measure any length tube shape accurately by moving the arm around longer tubes and pipes. |
INCLUDES THE POWER OF VTUBE-STEP
|
We introduced VTube-STEP on March 15, 2010. |
|
|
No other system includes VTube-STEP as part of the software license. |
|
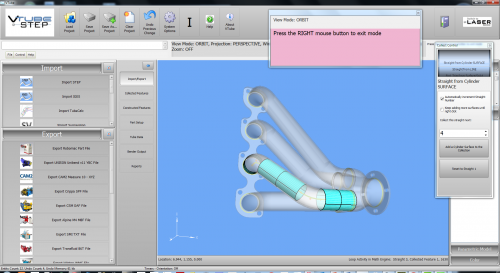
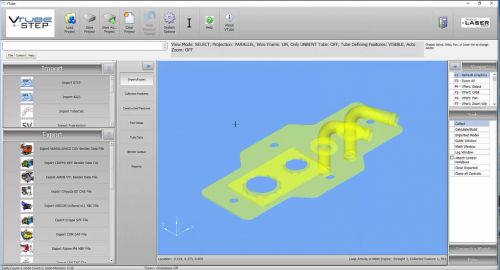
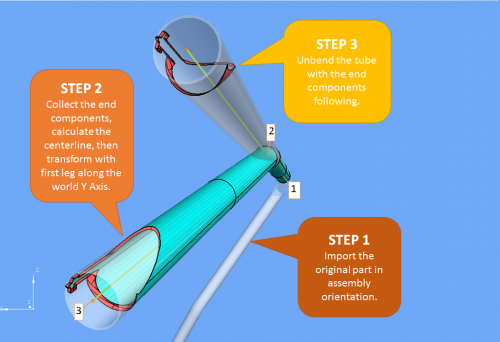
Every VTube-LASER comes with VTube-STEP because the Model-based Definition STEP mode is the foundation of LASER mode for measuring with the FARO. Not only can you import any solid model - but you can do some very complex operations on them as well. For example, you can unbend the parametric tube with components or holes following the unbend. And you can include elongation in the unbend too. In the top image, VTube has unbent part of the tube with end solid model components and brackets following. This new unbent configuration can be exported to any solid modeling package with the STEP EXPORT feature. |
HANDLES TUBES WITH SMALL-ANGLED BENDS
|
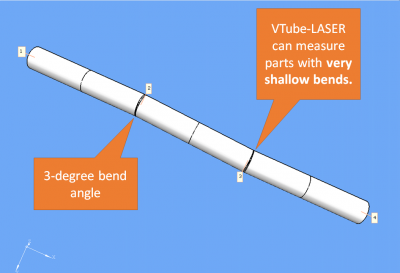
Vision-based systems cannot easily detect and measure small-angled bends. |
|
VTube-LASER can measure tubes with very shallow bends. |
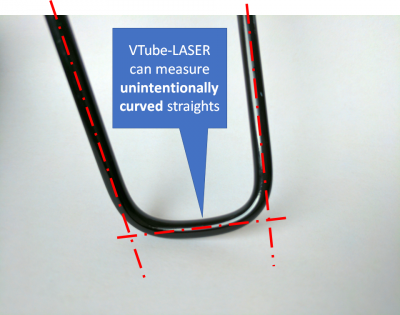
HANDLES UNINTENTIONALLY CURVED STRAIGHTS
|
Some systems may not be able to measure bowed straights well. |
|
VTube-LASER can measure curved straights using MultiScan. |
Other Pages
Back to VTube-LASER
Back to VTube-STEP


