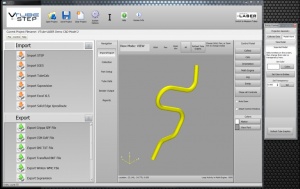
Import the Split Bend with STEP Version of "VTube-LASER Demo CAD Model 2"
|
|
Import STEP File
Step 1 - Install at least version 1.79 of VTube-STEP or VTube-LASER
The STEP version of the Demo Model 2 file is included with this installation. Also, the collect split bend feature is only available in this version or newer.
Step 2 - Clear VTube and Import STEP File

Clear VTube using the Clear Project icon. Change to the Import/Export menu and press Import STEP. The file to import is installed in the \My Documents\VTube\Models folder by default. The filename is "VTube-LASER Demo CAD Model 2.stp".
Make the Tube Transparent
This is not a required step. However, when the the tube is transparent you can see if you have collected either the inner or outer diameter. Selecting both the OD and the ID in various straights will help VTube to extract the OD and the wall thickness at the same time. (The selection process happens in the "Collection The Tube" process shown in the next section.)
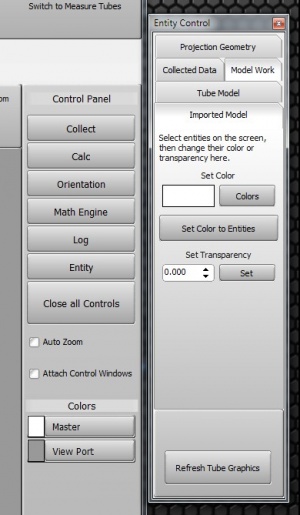
Step 1 - Load the Entity Control
Press the Entity button on the right:
Step 2 - Select the imported tube
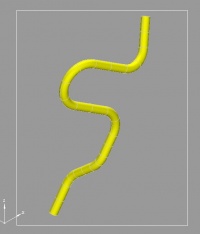
In View mode, select the tube with a Window using the mouse and creating a window around the image.
Step 3 - Set the Transparency to 0.750
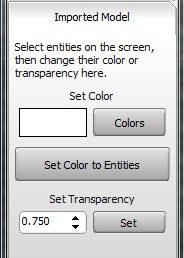
In the Entity Control window Imported Model tab, set the transparency to .750 and press Set.
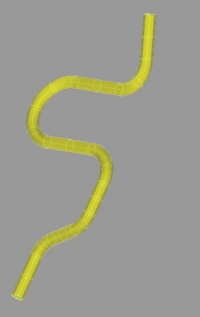
The tube will now appear like this:
Collect the Tube Straights
Use these steps to collect the tube straights.
Step 1 - Load the Collect Control
Close the Entity Control window if it is open. Then open the Collect Control window.

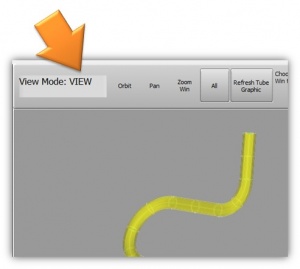
Step 2 - Be Sure Viewport is in View Mode
To perform a Collection, it is necessary to place the Viewport in View mode. For example, if the viewport is in Orbit mode, then by right click on the viewport to set it back to View mode.
Step 3 - Setup and Start the Collection
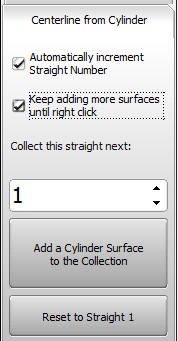
In the "Centerline from Cylinder" tab, check both checkboxes, be sure the straight value is "1", then press the large "Add a Cylinder..." button.
Step 4 - Select the Straights 1 Through 4
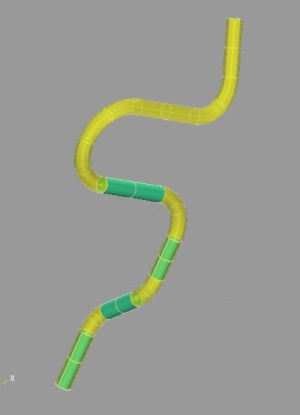
Begin selecting straights. Select straight 1, then 2, then 3, then 4 like this:
Step 5 - Skip Straight 5 to Select 6
Skip straight 5 by setting the straight number to 6 in the Collect control.

Step 6 - Select Straights 6 and 7
Select the rest of the straights.
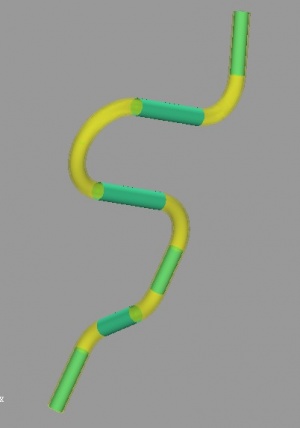
Step 7 - Change Viewport Mode to View
Right click on the viewport because there are no more straights to select:
After right click:
Step 7 - Setup to Select Split Bend Surface
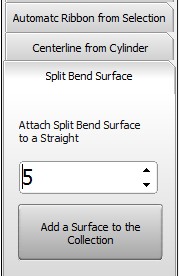
Change tabs in the Collect Control to Split Bend Surface:
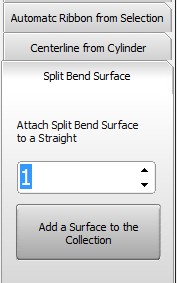
Set the straight number to "5" because we are going to select a split bend surface that will build a straight 5.
Other
- Back to VTube-LASER
- Back to VTube-PRO
- Back to VTube-STEP
- See the VTube Software Maintenance Plan page

