Difference between revisions of "VTube-LASER Bender Corrections"
From ATTWiki
(Created page with "<table> <tr cellpadding=10> <td width=300> 300px *Back to VTube-LASER *Back to VTube-STEP </td> <td width=300> image:Vtube-laser_1.77...") |
(→Bender Setup Screen) |
||
| Line 25: | Line 25: | ||
</td> | </td> | ||
<td width=300> | <td width=300> | ||
| − | [[image:vtube-laser-bendersetup_screen.jpg]] | + | [[image:vtube-laser-bendersetup_screen.jpg|400px]] |
</td> | </td> | ||
</tr> | </tr> | ||
| Line 55: | Line 55: | ||
</table> | </table> | ||
| − | |||
| − | |||
| − | |||
==Other Pages== | ==Other Pages== | ||
* Back to [[VTube-LASER]] | * Back to [[VTube-LASER]] | ||
Revision as of 16:42, 29 June 2013
|
Contents |
Bender Setup Screen
|
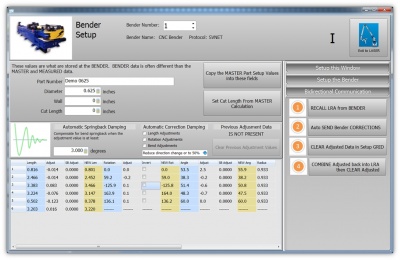
VTube-LASER uses the Bender Setup screen to control the values in connected benders. |
|
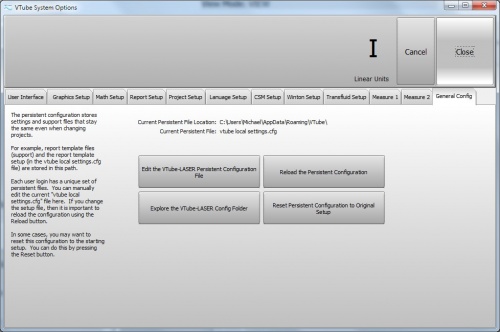
STEP 2 - Click on the Far Right TabThis tab will be named either General Config, or Persistent Setup.
|
|
STEP 3 - Browse into the Report FolderThe Report folder contains html files that are report templates that can be modified. |
Other Pages
- Back to VTube-LASER


