VTube-LASER ROMER RDS Performance Recommendations
Information about RDS performance with VTube-LASER
|
See also RDS Versions for ROMER Scanners
About ROMER RDS (ROMER Device Software)
|
ROMER RDS (ROMER Device Software) is a software system that interconnects software like VTube-LASER to any HEXAGON measuring device that uses the RDS software.
|
Two Cables Per ROMER Arm
|
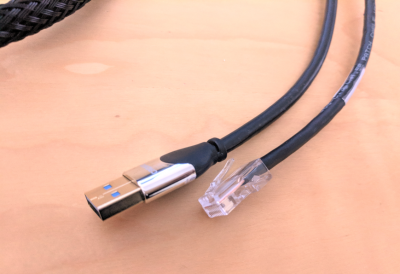
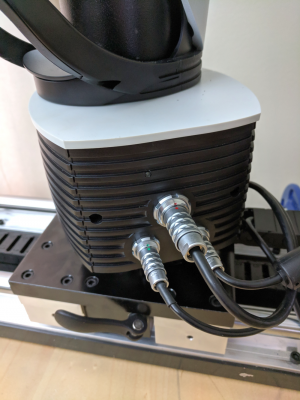
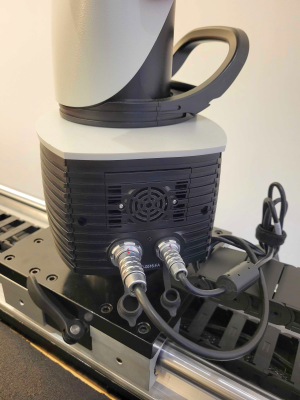
The ROMER scanners communicate with the computer with two cable connections:
You will need one open Ethernet port and one open USB port for the ROMER arm connection. |
Arm Feature Packs or Control Packs
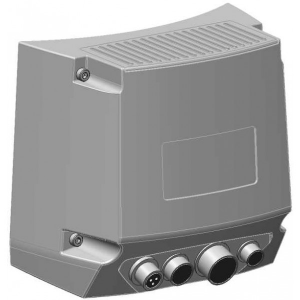
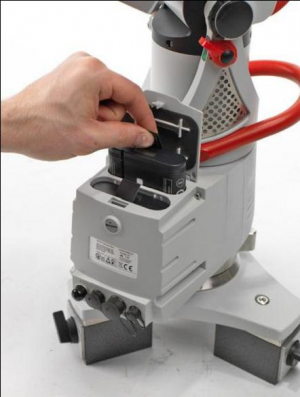
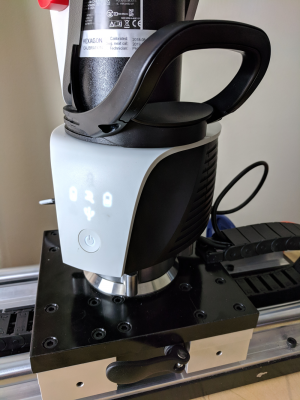
7-Series Arm Feature PackThis is the ROMER Scanning Pack that is attached to the back base of the 7-series arms. It includes ports for power, USB, and Ethernet. |
|
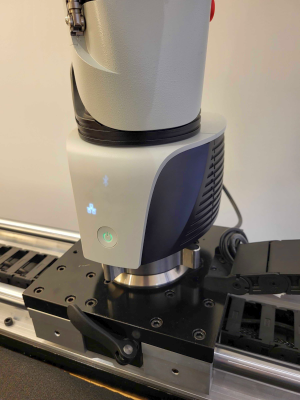
8-Series Arm Control PackThis is the HEXAGON Absolute Arm Control Pack that is attached to the back base of the 8-series arms. It includes ports for power, USB, and Ethernet. |
|
CP-Series Arm Control PackThis is the HEXAGON Absolute Arm Control Pack that is attached to the back base of the 8-series arms. It includes ports for power and Ethernet. |
Recommended RDS Computer IP (Network) Setup - REQUIRED FOR LASER SCANNERS ONLY
|
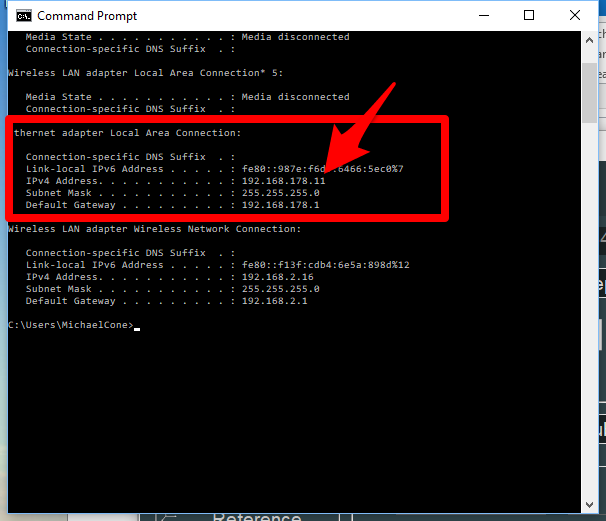
The newer HEXAGON Absolute Arm control packs can automatically serve an IP address to the computer using DHCP. |
HEXAGON RDS 6 Section
How to Configure the RDS VERSION 6.2 Control Panel
HEXAGON RDS 5 Section
How to Configure the RDS VERSION 5 Control Panel
|
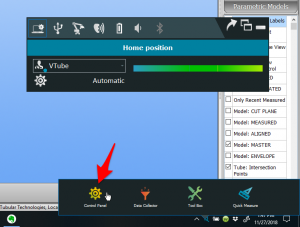
Right click on the R icon in the System Tray. If it is not in the menu on the bottom right, then left click on "Show Hidden Icons" button in the System Tool Tray. Then right click on the R icon in that menu. |
|
|
Left click on the Control Panel icon in the menu that pops up. |
|
|
You may also see a menu like this one if you click on the R inside the right click menu. Click on the Control Panel icon in the popup menu. |
|
|
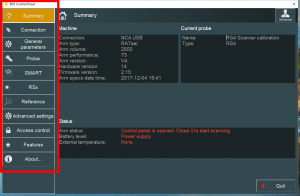
Select any Control Panel menu with the buttons on the left to show different menus on the right. |
Recommended RDS Version 5 Control Panel Setup
|
This is how we recommend that you setup the RSx menu in the RDS Control Panel for VTube-LASER.
|
|
|
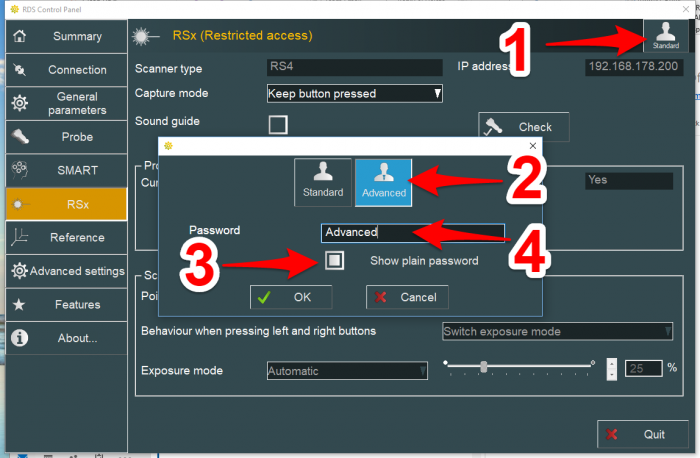
To change any of these settings, you will need to change users from Standard mode to Advanced mode. Click on the Standard user button on the upper right corner, then change to Advanced mode by entering the password. The default password is "Advanced". |
|
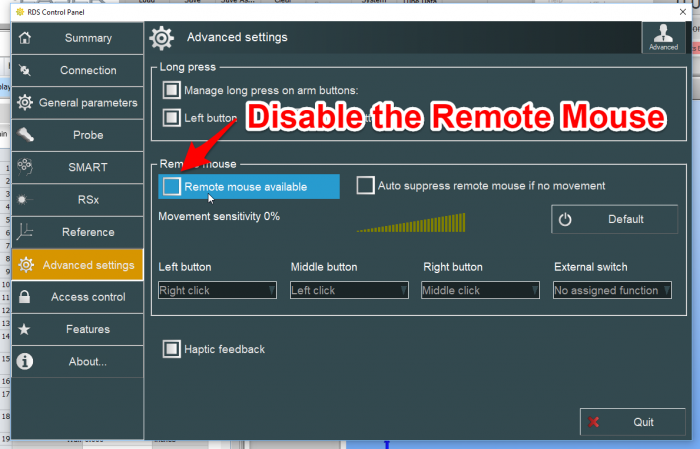
It is important to disable the Remote Mouse. Remote Mouse allows the arm to act as a mouse - which we do not recommend unless you know that you want to use the arm as a mouse and you know how it works. |
|
When you make changes, RDS will allow you to save the RDS setup changes with a visible SAVE button on the bottom right corner. Click this button before you exit ("Quit") the Control Panel. |
|
Click the Quit button to close the Control Panel. |
HEXAGON RDS 4 Section
How to Enter the RDS VERSION 4 Control Panel
|
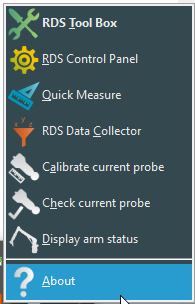
Left click on "Show Hidden Icons" button in the System Tool Tray. |
|
|
Right click on the measuring center icon. |
|
|
Left click on the RDS Control Panel in the popup menu. |
|
|
Select any Control Panel menu with the buttons on the left. |
Recommended RDS Version 4 Control Panel Setup
|
This is how we recommend that you setup the RSx menu in the RDS Control Panel for VTube-LASER.
|
|
|
To change any of these settings, you will need to change users from Standard mode to Advanced mode. Click on the Standard user button on the upper right corner, then change to Advanced mode by entering the password. The default password is "Advanced". |
|
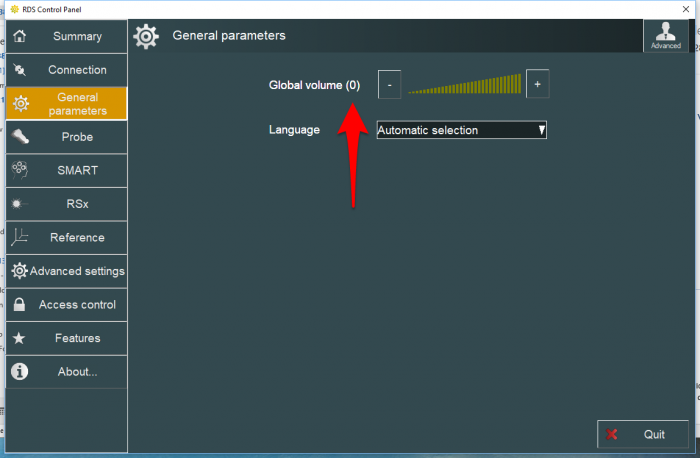
We recommend that you turn the ROMER sound off in General parameters. |
ROMER Ball Probe Support
|
All ball probe systems on devices that run through RDS are compatible with VTube-LASER. (VTube-LASER can use the LASER or the ball probe.) |
ROMER Driver Downloads
Download the latest tested ROMER RDS driver from this page: Advanced Tubular ROMER Driver Support Page. |
How to Determine Your Current RDS 4.X Version
|
Left click on the System Tray icon. |
|
|
Right click on the measuring center icon. |
|
|
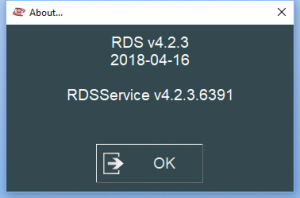
Left click on About. |
|
|
The RDS About window will display. |
RDS Performance Notes
|
When idling, the RDS service requires only 1 to 5 percent of the CPU usage. |
|
You can watch the CPU usage in the Windows Task Manager. |
Other Pages
- Back to VTube-LASER
- See this page for details all the different arms that RDS can connect VTube-LASER to: RDS Versions for ROMER Scanners
