Difference between revisions of "VTube-LASER v2.8"
(→25px NEW: UNISCAN DCF (DUAL CYLINDER FIT) Feature) |
(→25px NEW: UNISCAN DCF (DUAL CYLINDER FIT) Feature) |
||
| Line 37: | Line 37: | ||
<td> | <td> | ||
[[image:vtube-laser_v2.8_DualCylinderFit_model.png|500px]]<br><br> | [[image:vtube-laser_v2.8_DualCylinderFit_model.png|500px]]<br><br> | ||
| − | [[image:vtube-laser_v2.8_cylinderfit_DualCylinderFit.png| | + | [[image:vtube-laser_v2.8_cylinderfit_DualCylinderFit.png|300px]] |
</tr> | </tr> | ||
</table> | </table> | ||
Revision as of 05:05, 7 April 2017
|
Revision 2.8Release Date: Not Released Yet
|
Contents |
BUILD 30 - April 6, 2017
 NEW: UNISCAN DCF (DUAL CYLINDER FIT) Feature
|
This feature is an important breakthrough for predicting the repeatability of the cylinder measurements on-the-fly using a LASER scanner.
|
BUILD 20 - March 14, 2017
 NEW: MantisHub Web Server Bug Tracking
|
This version of VTube will allow you to choose to report software errors directly to our account at MantisHub.
|
BUILD 11 - February 15, 2017
 NEW: "Default Tolerance Ends" Value
|
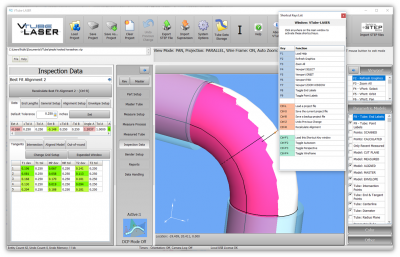
The Default Tolerance Ends value is in the Inspection Data menu.
|
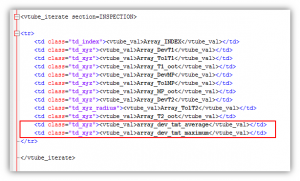
 NEW: REPORT COMMANDS - Tangent Deviation AVERAGE and MAXIMUM Values
BUILD 19 - February 22, 2017
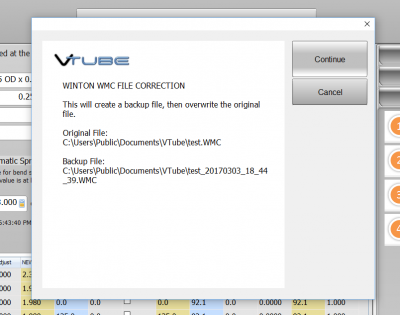
 ENHANCED: Winton WMC Communications Improvement
New Process Flow for Winton WMC CorrectionThis image shows the overall process for correction of Winton WMC files.
|
 UPDATED: Japanese Translation for User Interface
|
The Japanese translation of the UI was updated from version 2.6.
|
Other Pages
- Back to VTube-LASER
- Back to VTube Software Updates (for LASER Mode)
- See also VTube-STEP
- See also VTube-STEP Revisions
- See VTube-LASER Customer Support Page to download the latest version.
- See VTube-LASER Cut Planes
- See the tutorial on DCP - Diameter Cut Planes
- See How to Measure Tubes Attached to an Evaporator with the DCP Feature


