VTube NUMALLIANCE Bender Correction

From ATTWiki
Revision as of 23:17, 25 November 2019 by Mcone (Talk | contribs)

Jump to: navigation, search

VTube-LASER AssemblyOverModel.png RightOrangeArrow.png Numalliance Splash.png

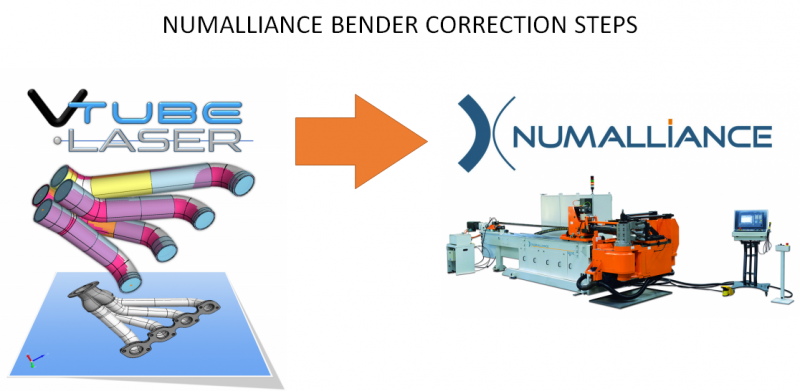
This page describes how to use VTube-LASER to correct NUMALLIANCE benders.


Back to VTube-LASER

Contents


NUMALLIANCE CORRECTIONS

VTube-LASER has an export option for NUMALLIANCE MES files that are used to correct the NUMALLIANCE benders.

Note: NUMALLIANCE benders only require the measured data for corrections.

Measure the tube in VTube-LASER, then send the MEASURED tube data to the bender control, and it will then perform the correction.

Follow the steps below.

NumallianceCorrectionsSlide1.png


STEP 1

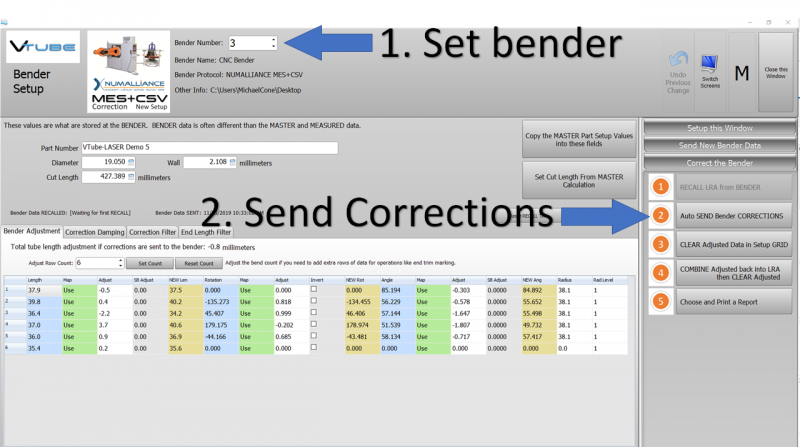
Press the Bender Setup button. (These steps assume that you have measured the tube and have setup VTube-LASER with the NUMALLIANCE protocol.)

Numalliance1.png


STEP 2

Set the bender number. It should say NUMALLIANCE like shown here.

If the data in the window is not correct, then import the data from the main VTube-LASER memory by clicking on "Setup this Window" then clicking on "Copy Master LRA to Setup LRA".

In the "Correct the Bender" menu, click on Auto Send.

A save file dialog will open and allow you to name the MES file on a thumb drive or on the network. This file will be imported into the NUMALLIANCE control.

Numalliance2.png


STEP 3

At the NUMALLIANCE control, press the CAD button.

NumallianceCADbutton.png


STEP 4

click the Export button.

NumallianceCorrectionSlide5.png


STEP 5

It is very important to enable the Positive Rotation options for most NUMALLIANCE benders. They normally rotate positive Clockwise when standing from the front of the bender.

If this setting is incorrect, then the rotations will be corrected in the wrong direction and cause the part to move further away from the nominal master part.

NumallianceCorrectionSlide6.png


STEP 6

Click on the Set the Filename button.

NumallianceCorrectionSlide7.png


STEP 7

Choose the export path in the Path Manager.

NumallianceCorrectionSlide8.png


STEP 8

Save the CSV file.

NumallianceCorrectionSlide9.png


STEP 9

Import the file into the NUMALLIANCE control.

NumallianceCorrectionSlide10.png


Other Pages