VTube-LASER v2.8
|
Revision 2.8Release Date: Not Released Yet
|
Contents |
BUILD 30 - April 6, 2017
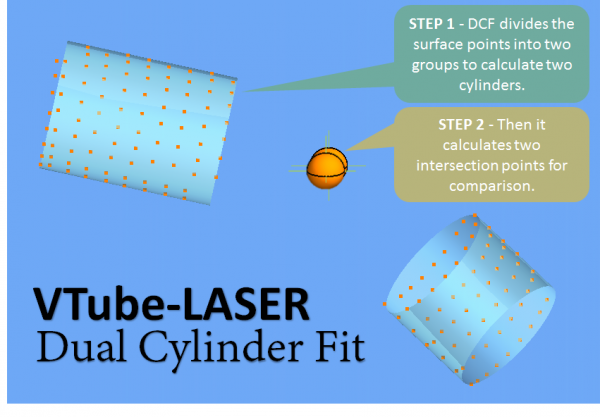
 NEW: UNISCAN DCF (DUAL CYLINDER FIT) Feature
 REDESIGNED: CYLINDER FIT DATA Window
|
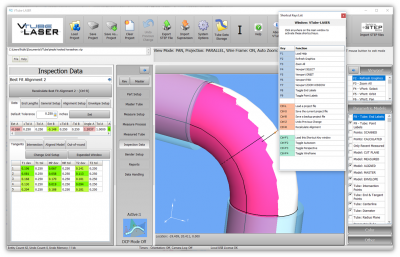
This window reports cylinder fit values that help you know if the cylinder measurement is good. PANEL 1 - MAXIMUM WOBBLE PREDICTION1 - The Maximum Wobble value predicts how precise the surface data fits the cylinder. This was in previous versions, but we've created a single new value to display at the top rather than multiple XY values. PANEL 2 - DUAL CYLINDER FIT2 - This is NEW test. The DCF (Dual Cylinder Fit) value creates two cylinders from the data, compares the results, and reports a warning if they don't match well enough. This new feature is a major enhancement to VTube-LASER. PANEL 3: OD SURFACE TO CENTERLINE3 - This is a NEW test. The new OD Surface to Centerline value reports the low and high points on the measured diameter relative to the centerline. If these values get too high, then VTube-LASER will warn you. This is active for both LASER and ball probe. PANEL 4: INTERSECTION PASS DISTANCE4 - The Intersection Pass Distance test was present in previous versions, but now you can see the value in real-time. It shows how near each intersecting 3D centerline comes to each other in 3D space. If the Nearest Pass value is more than the Intersection Error Tolerance, then VTube-LASER will warn you. This is active for both LASER and ball probe. |
 NEW: Automatic ORBIT to TRUE VIEW of MEASURED CYLINDERS
|
We teach users to view the end scan on the screen before moving to the step. In previous versions, this required that you manually orbit the viewport so that you can see the end scans. |
BUILD 20 - March 14, 2017
 NEW: MantisHub Web Server Bug Tracking
|
This version of VTube will allow you to choose to report software errors directly to our account at MantisHub.
|
BUILD 11 - February 15, 2017
 NEW: "Default Tolerance Ends" Value
|
The Default Tolerance Ends value is in the Inspection Data menu.
|
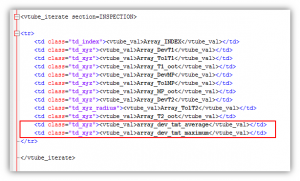
 NEW: REPORT COMMANDS - Tangent Deviation AVERAGE and MAXIMUM Values
BUILD 19 - February 22, 2017
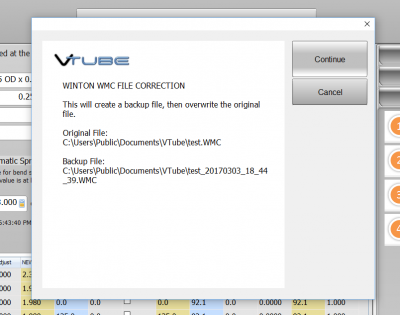
 ENHANCED: Winton WMC Communications Improvement
New Process Flow for Winton WMC CorrectionThis image shows the overall process for correction of Winton WMC files.
|
 UPDATED: Japanese Translation for User Interface
|
The Japanese translation of the UI was updated from version 2.6.
|
Other Pages
- Back to VTube-LASER
- Back to VTube Software Updates (for LASER Mode)
- See also VTube-STEP
- See also VTube-STEP Revisions
- See VTube-LASER Customer Support Page to download the latest version.
- See VTube-LASER Cut Planes
- See the tutorial on DCP - Diameter Cut Planes
- See How to Measure Tubes Attached to an Evaporator with the DCP Feature


