Difference between revisions of "FARO Scanner Settings for VTube-LASER"
(→How to Setup FIXED Exposure Mode) |
(→Scan Density of 1/16 is Best) |
||
| Line 68: | Line 68: | ||
<br><br> | <br><br> | ||
| − | ==Scan Density of 1/16 is Best== | + | ==PRNCIPLE 3: Scan Density of 1/16 is Best== |
<table> | <table> | ||
<tr> | <tr> | ||
Revision as of 16:39, 16 June 2017
This is a guide for FARO scanner setup with VTube-LASER.
Contents |
Results from Extensive Research
VTube-LASER has sophisticated analysis tools (like DCP - Dual Cylinder Fit) that can tell if the incoming data is reasonably good. Because of these built-in tools, we have discovered some useful operating principles for best practices in FARO scanner setup.
The information on this page is the result of our research into how best to scan and calculate tube cylinders. The principles here probably apply to other shapes as well - but we know for sure that they apply to measuring at least cylindrical shaped surfaces.
PRINCIPLE 1: LLP Camera Exposure Modes Depend on the FARO Scanner Version
|
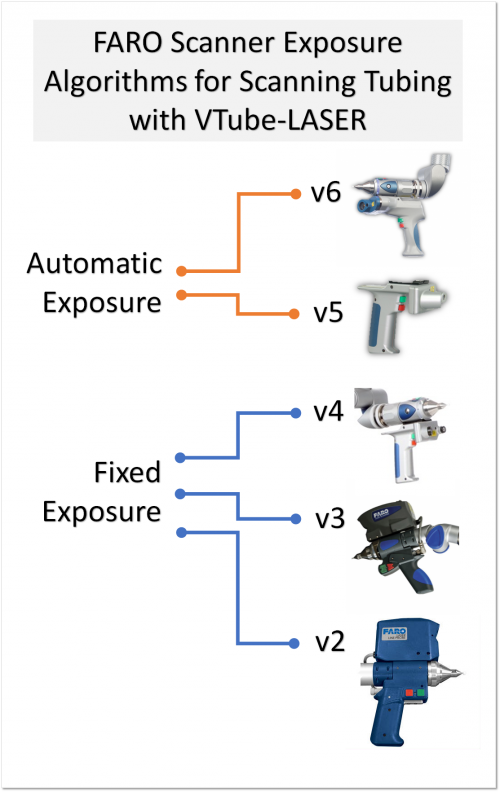
The diagram on the right shows the workable exposure settings that are acceptable with the FARO scanners when measuring tube shape.
For version 2 and version 3 scanners, it is almost impossible to pass the 4-level cylinder fit-test in VTube-LASER 2.8 and newer when scanning tubes. The only solution in this case is to use FIXED mode in the FARO Laser Line Probe Control window. |
PRINCIPLE 2: FIXED Exposure Mode is better than AUTOMATIC Exposure Mode
|
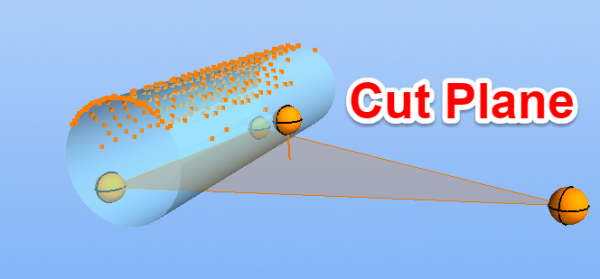
An important principle that we've discovered is that FIXED exposure mode is more reliable than AUTOMATIC exposure mode in returning consistently accurate surface points when measuring a cylinder. This is especially true when measuring a tube on a CUT PLANE. The Cut Plane may interfere with the automatic exposure mode if the Cut Plane reflectivity is much different than the tube surface reflectivity. |
How to Setup FIXED Exposure Mode
|
The only drawback to FIXED mode is that the user needs to take the minute to setup the exposure setting for the current material type that is being scanned. (In our experience, there has been no customer that has objected to this extra minute of scanner setup time.)
To setup FIXED mode for a new tube surface, enter the FARO Laser Line Probe control by pressing VTube-LASER's Scanner Control button at the top of the viewport, then follow these steps:
When the AUTO button re-enables, then the setup is finished. You can press OK to exit this menu and use these new settings. These values will be stored in the VTube-LASER project file for reuse with this project later. |
PRNCIPLE 3: Scan Density of 1/16 is Best
|
Scan Density is set in fractional values. "1/1" means all the points are being presented to VTube-LASER. "1/16" means a 16th of the total points are being handed to VTube-LASER. For measuring tube shapes, a Scan Density of 1/16 is more than enough. Not only is 1/16 enough density, reduces the calculation time required for VTube-LASER's math engine to calculate the centerline of the cylinders. |
Other Pages
- See VTube-LASER
- See FARO Version 6 Scanner
- See Surface Spray


